

How to Pose Naruto Performing the Rasengan: Step-by-Step Guide
The Rasengan is Naruto Uzumaki’s most recognized technique — a spinning sphere of compressed chakra delivered in a forward lunge that he first mastered after weeks of training with water balloons and rubber balls. Technique background at Naruto Fandom — Rasengan.
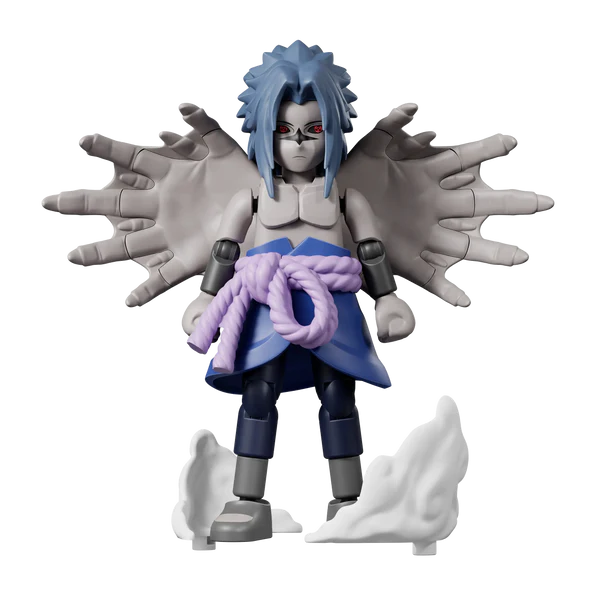
It’s also the single most popular pose for Naruto collectors. The forward drive, the extended arm, the Rasengan held ready — it reads as dynamic from any angle and instantly communicates who the character is. The Naruto Champion Class 02 Naruto Uzumaki kit includes both the Rasenshuriken and Rasengan as confirmed accessories, making it the natural choice for this display. Full Naruto lineup at Naruto Toys.
This guide covers the five-step posing process, five proven display configurations, the most common posing errors, and how to protect the kit after you’ve found the pose you want.
Why the Rasengan Pose Works

Naruto Uzumaki’s character is forged around forward momentum — charging in, refusing to stop, committing to the technique regardless of the odds. The Rasengan captures that in physical form. Series background at Wikipedia — Naruto Uzumaki.
Most static display setups place kits in neutral standing positions. A Rasengan pose is the opposite. It implies movement. It implies a moment in time. That’s why it consistently reads as more interesting on a shelf than an upright neutral stance.
The technique also works visually because it creates an asymmetric silhouette — one arm extended, the other pulled back or bracing. Asymmetry draws the eye. It’s the reason professional kit photographers almost always prefer action poses over neutral ones.
The Rasengan Pose: Anatomy Table
Before posing, understand what each body segment needs to do. The Rasengan lunge involves the whole body working together.
|
Body segment
|
What it does in the technique
|
What to aim for when posing
|
|
Feet and ankles
|
Plant and push off. One foot forward, one back.
|
Lead foot flat on stand. Rear foot angled, weight on ball of foot. Suggests push-off rather than standing.
|
|
Knees
|
Absorb impact of the lunge. Front knee bent forward.
|
Front knee over the lead foot. Don’t lock either joint straight — locked knees look static.
|
|
Hips and pelvis
|
Tilt and rotate toward the target.
|
Tilt the hip joint slightly forward toward the Rasengan arm. The pelvis should lean into the direction of the attack.
|
|
Torso
|
Twist and lean forward. Spine follows the direction of the lunge.
|
Rotate the upper torso toward the target. A straight-on torso looks flat. Twist creates torque.
|
|
Rasengan arm
|
Extended toward target. Shoulder forward, elbow slightly bent.
|
Pull the shoulder forward in the socket. Keep elbow slightly bent. Fully locked elbow = no tension.
|
|
Support arm
|
Counterbalance. Out to side or pulled back.
|
Bring this arm back or out to counter the weight of the extended Rasengan arm. Both arms at the same angle reads as inactive.
|
|
Head
|
Eyes on target. Chin slightly down.
|
Tilt head forward and toward the target. Don’t look straight forward — looking “through the eyebrows” at a target communicates focus and intent.
|
Step-by-Step: How to Pose Naruto with the Rasengan

The Naruto Naruto Champion Class 02 Naruto Uzumaki kit has 22 articulation points, which gives enough range for the full lunge. Follow this sequence.
Step 1 — Set the feet and ankles
-
Lead foot — place flat on the display stand with the ankle joint at neutral. This is the weight-bearing foot.
-
Rear foot — rotate the ankle so the foot is angled back. Bend the ankle joint so only the forefoot contacts the stand, as if pushing off the ground.
-
Foot width — wide stance is more stable and more dynamic. Narrow stance looks passive. Aim for about shoulder-width gap between the feet.
Step 2 — Bend the knees and tilt the hips
-
Front knee — bend forward over the lead foot. This is the drive of the lunge. The deeper the bend, the more committed the attack reads.
-
Rear knee — slight bend. Don’t lock it straight. A locked rear knee makes the whole pose look planted rather than in motion.
-
Hip tilt — use the waist joint to tilt the hips forward slightly toward the attacking arm. This anchors the direction of the lunge.
Step 3 — Rotate the torso and position the Rasengan arm
This is the most important step. The kit’s Rasengan is loaded onto the open-palm hand, which connects at the wrist. Verify the wrist joint is fully seated before loading the Rasengan effect part. Full kit details at Naruto Champion Class 02 Naruto Uzumaki.
-
Torso rotation — twist the upper body toward the attacking arm. Don’t use a straight-ahead torso. The rotation creates visual energy.
-
Shoulder position — pull the shoulder joint forward in the socket. The shoulder should be in front of the torso, not level with it.
-
Elbow angle — keep a slight bend. A fully extended elbow locks out the tension. A bent elbow implies the Rasengan is about to make contact.
-
Wrist — load the Rasengan onto the open-palm hand with the wrist joint already seated and locked. The Rasengan adds weight; a loose wrist will drop the angle within hours.
Step 4 — Set the support arm and head
-
Support arm — pull this arm back and to the side to counterbalance the extended Rasengan arm. Two arms at matching heights reads as symmetrical and inactive.
-
Head angle — tilt the chin down and rotate the head toward the Rasengan target. The interchangeable combat face sculpt (included with the kit) reads more clearly from this angle than the neutral expression.
-
Eyes on target — make sure the face sculpt is visible from the intended viewing angle of the display. The face is often blocked by the extended arm if the torso isn’t rotated enough.
Step 5 — Test balance and final adjustments
-
Stand placement — insert the display stand peg at the waist before finalizing the pose. A kit balanced without the stand will shift when placed on it.
-
Ankle check — confirm the lead foot is flat on the stand surface with no gap. Any gap creates forward lean that will worsen over time.
-
Effect parts — position the Rasenshuriken and cloud effect parts after the main body is balanced. These add visual mass without touching the floor.
-
Settle time — POM joints hold their position better after 30 minutes at the final angle. Set the pose, leave it for half an hour, then fine-tune. Fresh joints move more freely than settled ones.
5 Rasengan Pose Ideas for Your Display

|
Pose name
|
Configuration
|
Accessory
|
Display context
|
Difficulty
|
|
Ground lunge
|
Lead foot forward, deep knee bend, Rasengan arm extended. Rear foot pushed back.
|
Rasengan only. No cloud parts.
|
Desk solo. High visual energy in small space.
|
Beginner
|
|
Rasenshuriken
|
Both arms raised, upper body leaning forward. Weight centered on lead foot.
|
Rasenshuriken + cloud effects at wrists.
|
Solo centerpiece. Highest visual footprint.
|
Intermediate
|
|
Naruto vs Sasuke
|
Naruto lunging left with Rasengan. Sasuke Uchiha kit facing right. Both slightly elevated off stand.
|
Rasengan on Naruto. Chidori sword on Sasuke.
|
Two-kit rivalry shelf. Classic Shippuden clash.
|
Intermediate
|
|
Kurama scene
|
Naruto forward in lunge. Kurama Nine Tails positioned behind and elevated. Tails spread wide behind the pose.
|
Rasengan on Naruto. Kurama tails arranged in fan formation.
|
Shelf centerpiece. Most dramatic visual in the full lineup.
|
Advanced
|
|
GV wave row
|
Three GV kits displayed left to right in sequence. Naruto Champion Class as anchor in center.
|
No effects on GV kits. Rasengan on Champion Class center kit.
|
Multi-kit wave display. Wider shelf footprint.
|
Beginner
|
Common Mistakes and How to Fix Them
|
Mistake
|
Visual symptom
|
Fix
|
|
Torso faces straight forward
|
Pose looks flat. No sense of direction or momentum.
|
Rotate the upper torso at the waist joint toward the Rasengan arm. Even 15° of twist creates significant visual difference.
|
|
Both arms at same height
|
Symmetric silhouette. Pose reads as T-pose rather than attack.
|
Pull the support arm down and back while extending the Rasengan arm forward. The asymmetry is what creates energy.
|
|
Rasengan arm drooping after placement
|
Rasengan points at the floor within an hour of posing.
|
Reseat the wrist joint before loading the Rasengan. The effect part is heavy. A loose wrist cannot hold the angle over time.
|
|
Face blocked by extended arm
|
Combat face sculpt not visible from the display’s primary viewing angle.
|
Rotate the torso away from the viewer slightly. This opens the sightline past the Rasengan arm to the face.
|
|
Kit tips forward after stand placement
|
Forward lean gradually worsens. Kit risks falling off the stand.
|
Confirm lead foot is flush with stand surface before locking the pose. Adjust ankle joint until no gap is visible.
|
|
Pose looks stiff or doll-like
|
No sense of movement. Kit reads as a standing ornament, not an attack.
|
Bend the knees more. Tilt the head. Widen the stance. Any single adjustment from the anatomy table improves this, but the combination of three or more is the difference between static and dynamic.
|
Protecting the Kit While Displayed

Joints
-
Rasengan wrist — the most vulnerable joint in this pose. Check it monthly. If the Rasengan has shifted downward, reseat the wrist and hold it at the correct angle for 60 seconds before releasing.
-
Ankle joints — POM material holds tension well but can relax under sustained directional load. Readjust the ankle angle if the kit develops a forward lean after weeks of display.
-
Shoulder — the extended shoulder socket takes the most sustained load in the lunge pose. Avoid extreme joint angles that push past the natural stopping point of the ball in the socket.
Light and dust
-
UV exposure — Naruto’s orange and the warm tones in the costume fade faster than most Naruto Shippuden color palettes under direct sunlight. Keep the display away from windows with direct natural light.
-
Dusting — the Rasengan effect part and cloud accessories have crevices that collect dust quickly. Use a dry soft brush weekly. Cloths snag on the translucent parts.
-
Rasengan clarity — translucent PVC becomes slightly opaque over time in dusty environments. Gentle brushing and keeping the kit in an enclosed shelf maintains the visual quality of the effect part.
The Kurama Display: Taking the Pose Further

The Naruto Shippuden Legend Edition 01 Kurama (Nine Tails) is the natural rear addition to the Rasengan pose. At $49.99, it includes nine poseable tails, a magnetic light-up feature, and a Naruto Uzumaki statue. Product at Naruto Shippuden Legend Edition 01 Kurama (Nine Tails).
The most visually powerful shelf setup in the Naruto licensed lineup positions the Champion Class 02 Naruto Uzumaki in the Rasengan lunge at the front, with Kurama elevated and spread behind. Nine tails fanned wide frame the forward momentum of the Rasengan pose. The scale difference between the two kits communicates the relationship between Naruto’s technique and the power source behind it.
That display doesn’t require any additional accessories or modification. Pose the Champion Class kit in the ground lunge, position Kurama on the next shelf level behind and above, spread the tails in a wide arc, and the visual relationship is immediate.
Why Rasengan Displays Last

Static neutral poses go stale. An action pose communicates something different every time you look at it depending on the angle you’re viewing from. The forward lunge with the Rasengan extended reads differently from the left side (arm reaching toward you) than the right side (arm driving away from you) than straight-on (full silhouette of the lunge).
That multi-angle readability is what makes the Rasengan pose the most enduring display choice in the Naruto Shippuden lineup. It’s not just impressive at one angle — it works from all of them.
Conclusion
The Rasengan pose communicates Naruto Uzumaki’s character better than any neutral standing position. Forward momentum, commitment to the technique, the extended arm and loaded palm — it’s the most anime-accurate way to display the kit.
Start with the feet, set the hips, rotate the torso, seat the wrist before loading the Rasengan effect, and adjust the support arm for asymmetry. Those five steps are the complete process.
Full Naruto Shippuden lineup at Blokees. Official character source at Naruto Official Website.
FAQs
Which Naruto kit is best for the Rasengan pose?
The Naruto Champion Class 02 Naruto Uzumaki. It’s the only kit in the lineup confirmed to include both the Rasenshuriken and Rasengan as accessories, with 22 articulation points for the full lunge range.
The GV series kits are the Surprise Box format — useful for a wave display row but not designed for complex action posing. Champion Class is the posing tier.
How long does it take to achieve a good Rasengan pose?
20 to 40 minutes for a first attempt following the five-step process. The torso rotation and wrist-before-Rasengan sequence are the two steps most first-timers skip, and both matter significantly.
A settled pose improves after 30 minutes as POM joints relax into their position. Final fine-tuning after the settle period is worth the wait.
Why does the Rasengan arm keep drooping?
The wrist joint wasn’t fully seated before the Rasengan effect part was attached. The effect part adds weight that a loose wrist can’t hold.
Remove the Rasengan, reseat the wrist joint firmly until it clicks, hold the arm at the target angle for 60 seconds, then attach the Rasengan. This resolves the issue in most cases.
Can I pose the Rasenshuriken instead of the Rasengan?
Yes. The Rasenshuriken is also included with the Champion Class 02 Naruto Uzumaki kit. It uses a different hand connection than the Rasengan. Swap the hand part before attaching the effect.
The Rasenshuriken pose uses both arms raised rather than the single-arm lunge. The cloud effect parts from the kit frame it well at the wrists.
How do I pose Naruto with Kurama?
Position the Champion Class Naruto in the ground lunge at the front of the display. Place the Kurama kit behind and elevated on the next shelf level. Spread the nine tails in a wide arc behind Naruto’s forward momentum.
No modifications or additional accessories required. The scale difference between the two kits communicates the relationship clearly on its own.
Is the Rasengan pose suitable for a small desk?
Yes. The ground lunge fits within the standard display stand footprint. The kit doesn’t occupy significantly more space than the neutral standing position.
The wider stance does extend the front-to-back depth slightly. For very limited desk space, the single-arm Rasengan pose (rather than Rasenshuriken) has a smaller physical footprint.
What’s the best pose for a Naruto vs Sasuke display?
Naruto Champion Class 02 lunging left with the Rasengan, Naruto Champion Class 04 Sasuke Uchiha positioned on the right facing left with the Chidori sword drawn. Both kits slightly elevated off the stand for the illusion of mid-air impact.
Keep equal gap between the two kits. The silhouettes should lean toward each other. The rivalry reads itself without requiring additional accessories or setup.
Where do I start if I’m new to posing Naruto kits?
Start with the ground lunge — it’s the most stable configuration and the most forgiving if a joint isn’t perfectly positioned. It also shows immediate results. Full lineup options at Naruto Shippuden GV for Surprise Box entry, or Champion Class for poseable kits.
The five-step anatomy table in this guide gives you a clear reference point for each body segment. Work through the table top-to-bottom. Don’t skip straight to the Rasengan arm before the legs and torso are set.
Sources
- Naruto Fandom — Rasengan — Technique documentation. Ongoing updates.
- Wikipedia — Naruto Uzumaki — Character and series documentation. Ongoing updates.
- Naruto Official Website — Official Naruto IP source.
- Naruto Champion Class 02 Naruto Uzumaki — Blokees — Official product page. Verified: 22-pt articulation, includes Rasenshuriken + Rasengan + Kunai + effect clouds + display stand.
- Naruto Champion Class Collection — Blokees — Official Champion Class series collection.
- Naruto Toys Collection — Blokees — Official Naruto IP main collection.
- Naruto Shippuden Legend Edition 01 Kurama (Nine Tails) — Blokees — Official product page. Verified: $49.99, 9 poseable tails, magnetic light-up, ages 14+.
- Naruto Shippuden GV Collection — Blokees — Official GV Surprise Box series.


Looking for something else?
Which Marvel Rivals Blokees Kit Should You Assemble First?
LEARN MORE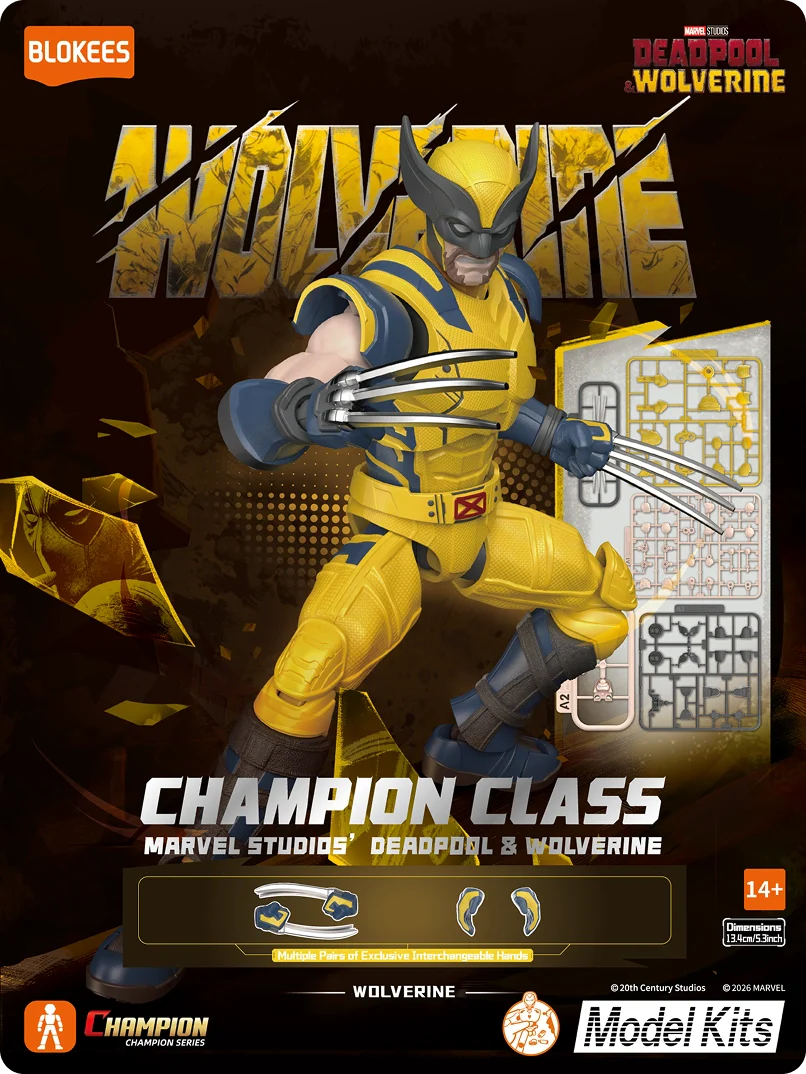
Best X-Men Model Kits: Wolverine, Magneto, and More
LEARN MORE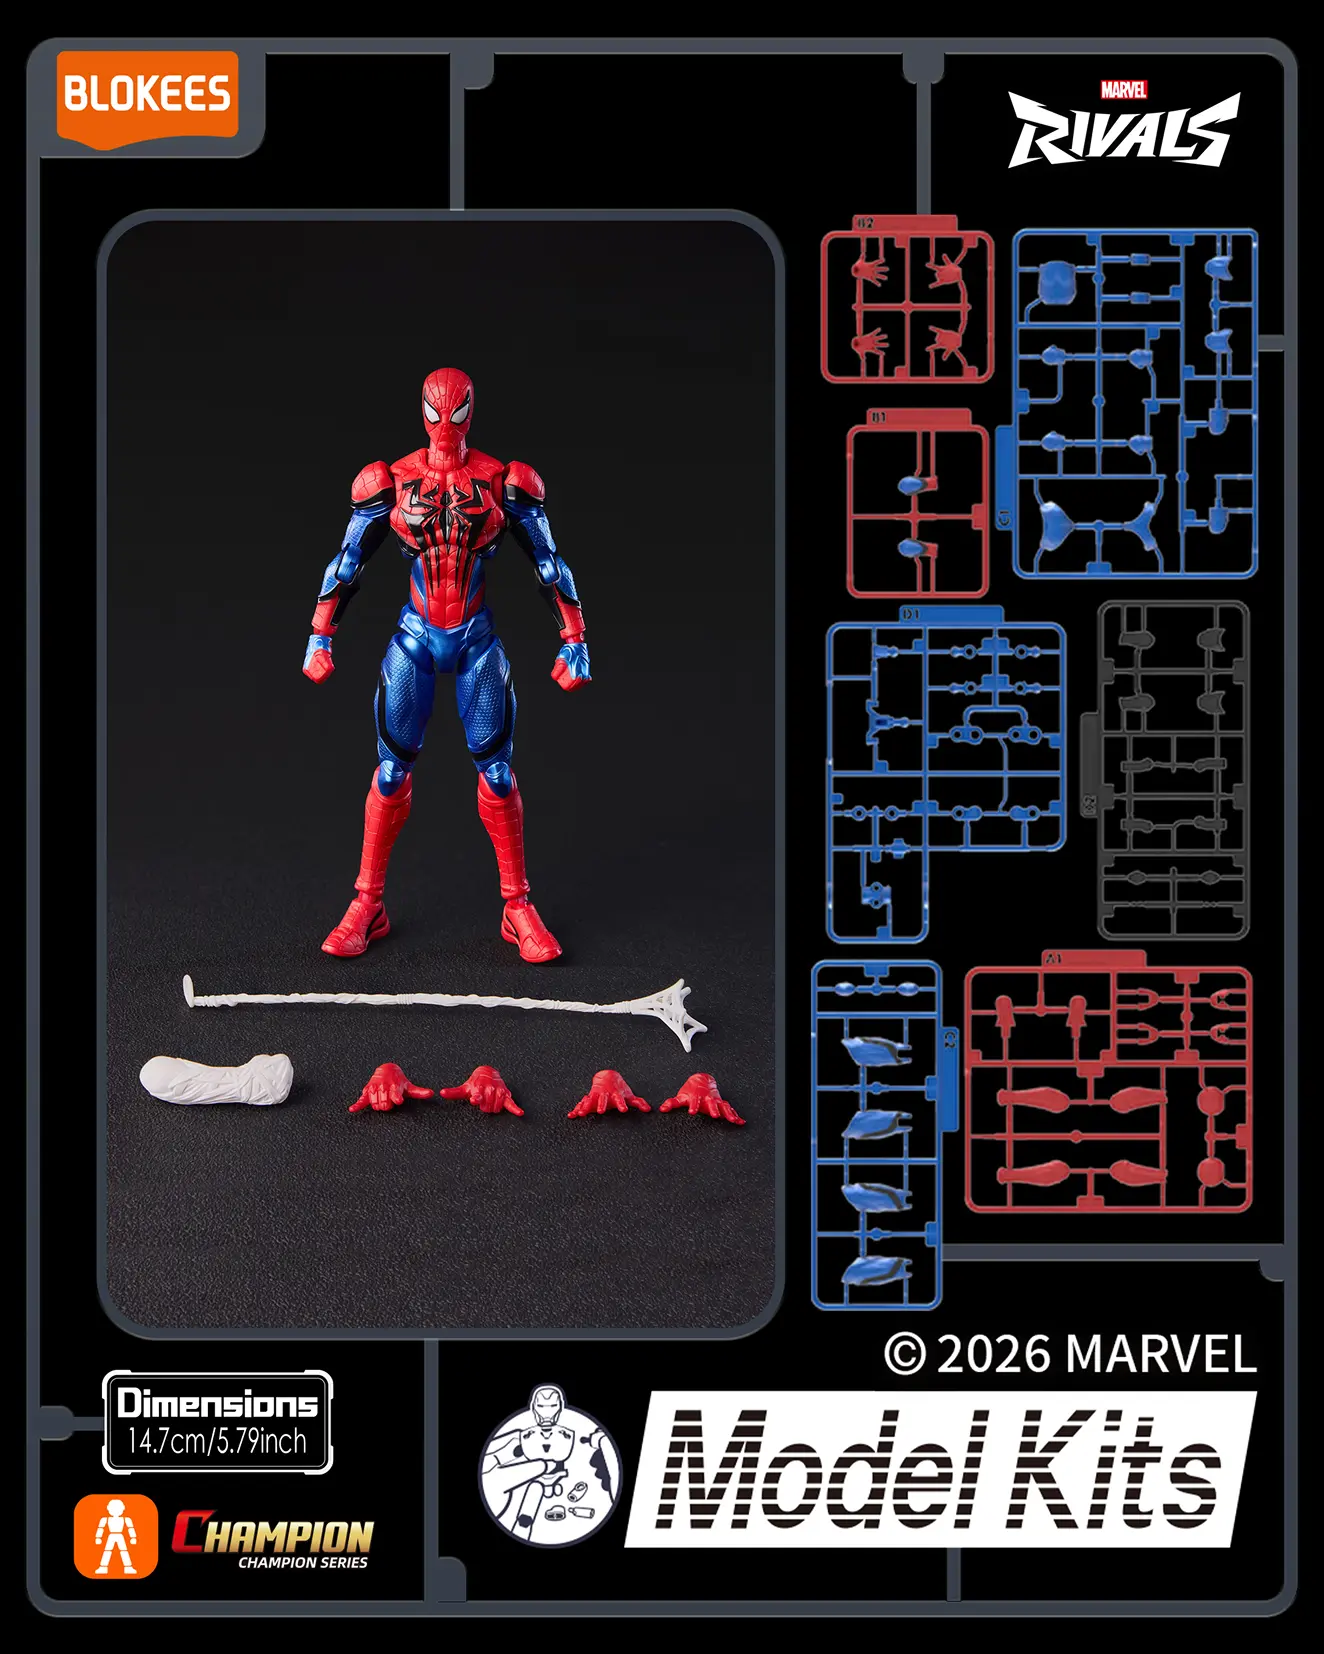
How to Assemble Blokees Marvel Rivals Spider-Man
LEARN MORE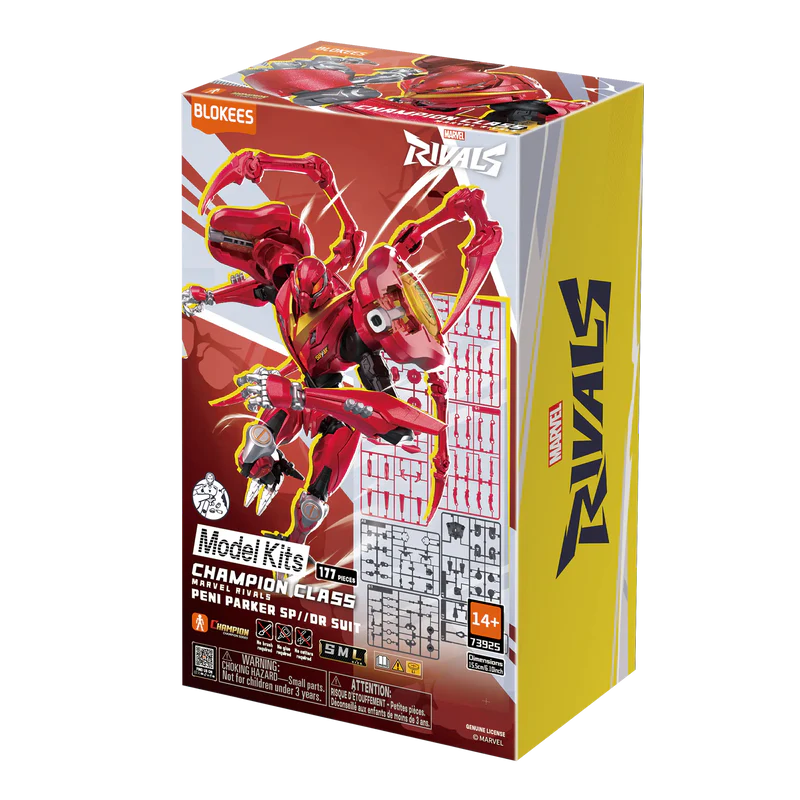
Unboxing the Blokees Marvel Rivals Champion Class Series
LEARN MORELooking for something else?
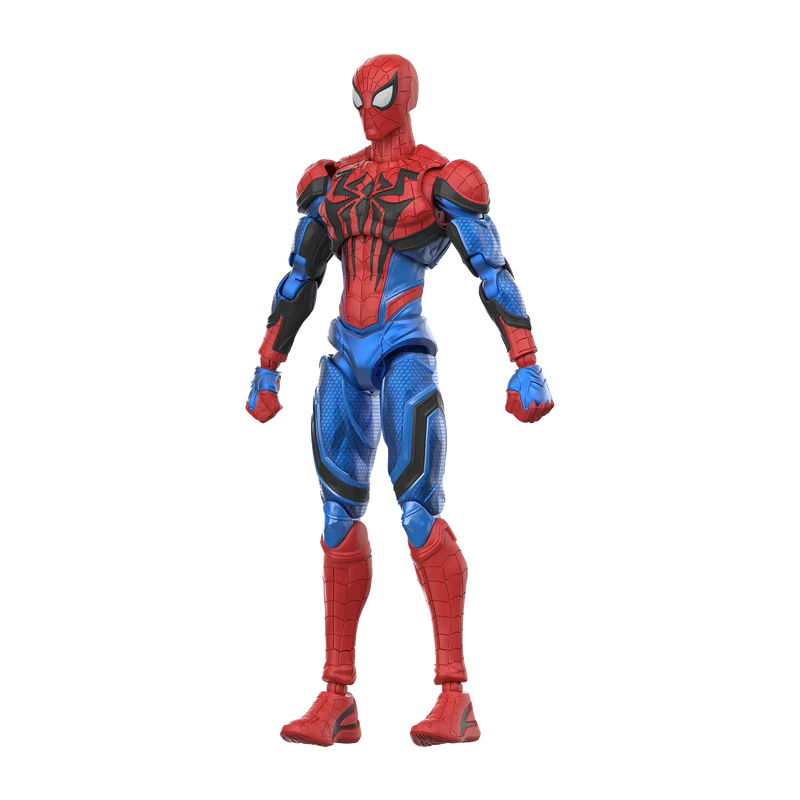
Dynamic Posing Guide: How to Make Spider-Man Swing
LEARN MORE
Secret Rares Revealed: Blokees Marvel Rivals Hidden
LEARN MORE
How to Create a DIY Marvel Rivals Battle Diorama Display
LEARN MOREYou may also like
New


Single Box
New


Spider-Man (Chasm)™
New


Batman: Hush - Batman
New


Batman: Hush - Catwoman
Further reading

Blokees EVANGELION Gift Guide: Choose by Character, Unit, and Display Format
A Blokees EVANGELION gift can focus on a pilot, an Eva unit, a television design, a film-continuity design, published piece count, or shelf space. Organize the comparison around those factors befor...

EVANGELION 30th Anniversary: How the Series Continues to Reach Audiences
The television series began broadcasting in 1995. Its 30th-anniversary program extended across 2025 and 2026 through screenings, exhibitions, concerts, a three-day Yokohama Arena event, an official...

EVANGELION Unit-08 Explained: Mari’s EVA-08α and the Blokees Release
EVA-08α is a pink Evangelion assigned to Mari Makinami Illustrious in the 2007–2021 film continuity. The “08” is a unit identifier, while the Greek suffix marks a specific state of Unit-08. It shou...